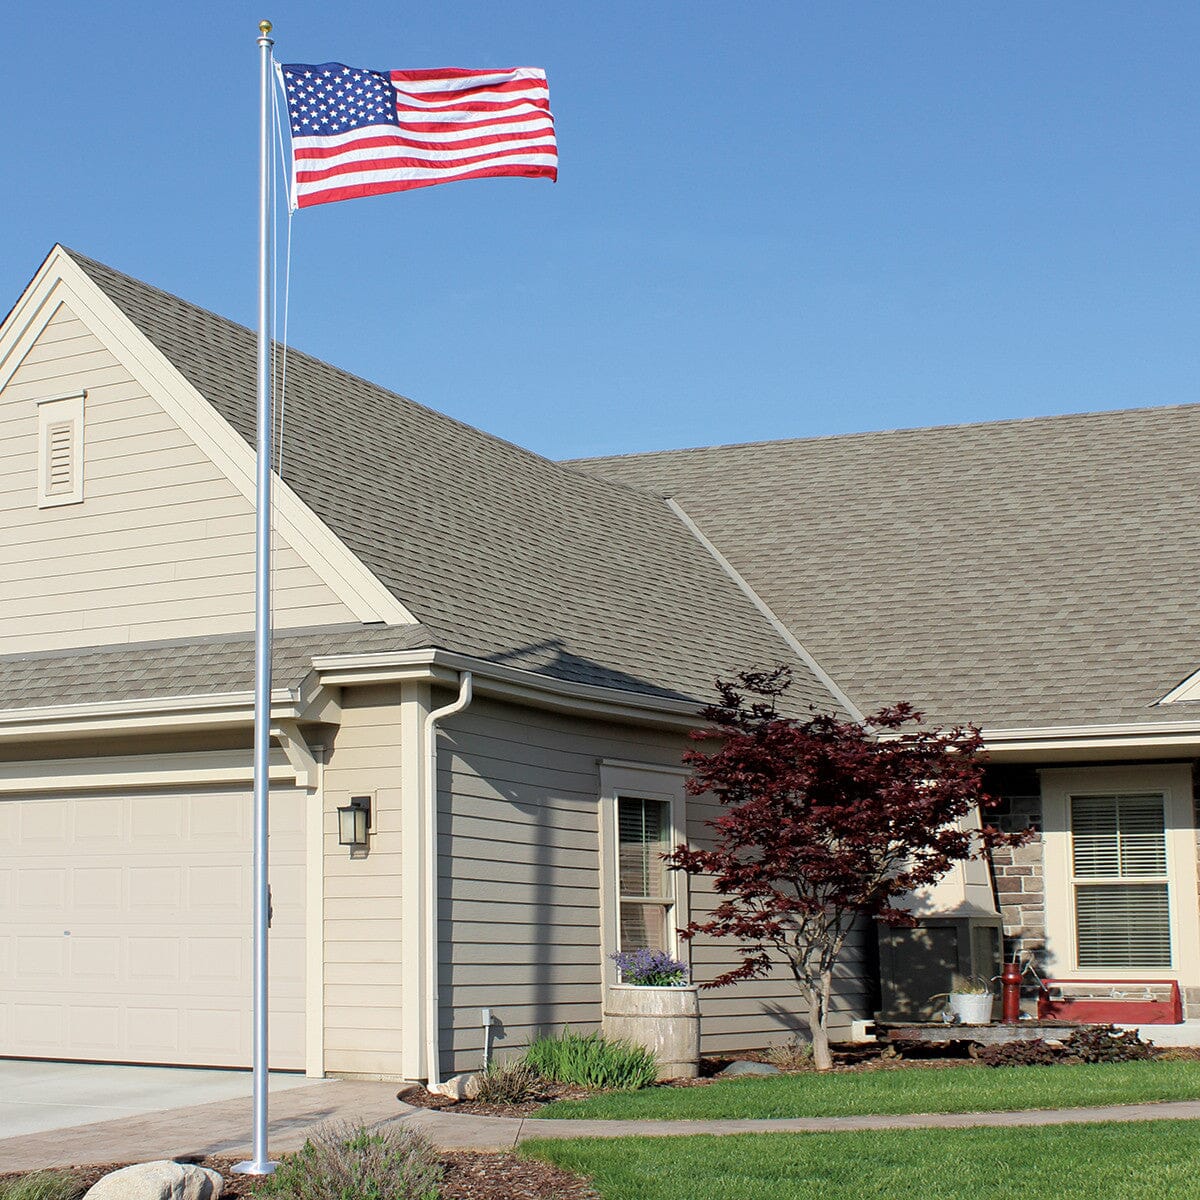
Installing a one-piece flagpole on your lawn is a straightforward task that can enhance the aesthetics and value of your home. But to some, it may seem like a daunting task. However, the process is quite manageable when you follow the right steps. Follow along as we guide you through the process of how to properly install a one-piece flagpole so that you can have your flag flying in no time.
Choose the Right Color
You can begin this process by choosing the right color for your one-piece residential flagpole. The color should ideally match or complement the surrounding architecture of your home to enhance the overall aesthetic appeal of the pole.
While white-or faux aluminum-colored poles are universally appealing, you can also opt for hues such as bronze or black to give your lawn a more distinct look. Remember, the goal is to make the flagpole an integral part of your property’s landscape, not something that will act as a distraction to passersby.
Determine the Right Flagpole Height and Location
After you pick the best color, you can follow it up by determining the right height for your flagpole. The appropriate height largely depends on the surrounding landscape and the amount of visibility you want your flag to have.
Typically, some residential flagpoles can go as tall as 25 feet. Before you decide on a height, make sure you check local regulations. Some place restrictions on the height of flagpoles, so it is important to ensure that you get it right—otherwise, you may have to undo the work that you completed.
Selecting the right location for your flagpole is just as important as choosing the height. Consider an open, unobstructed location that will allow others to see your flag from a distance. Be mindful of overhead power lines, trees, and structures that could potentially interfere with the flag. Ideally, you should install the flagpole in a location that will allow you to raise and lower the flag.
Create a Hole for Your Flagpole
Once you select the perfect location for your flagpole, the next step is to create a hole for you to insert the flagpole into on your lawn. When digging your hole, remember that the diameter should be at least four times your pole’s diameter.
In addition, you will want the hole to be at least two feet deep. It’s important to note that the depth of the hole is critical for the stability of your flagpole.
For example, if the hole is too shallow, the flagpole will not have a strong foundation and could potentially topple over. Conversely, if the hole is too deep, you will have to perform unnecessary labor, and the flagpole installation could become unnecessarily complex. Taking the time to measure and dig the hole correctly will ensure a smooth installation and a stable flagpole.
Insert Your Foundation Sleeve
Once you create a hole that features the proper dimensions, your next step in installing your one-piece flagpole is inserting the PVC foundation sleeve. This product will support your flagpole and keep it level.
Slide the foundation sleeve into the hole and use a level to ensure that it’s perfectly vertical. Otherwise, your flagpole may lean or fall over if the foundation sleeve doesn’t align properly.
Before you pour the concrete surrounding the sleeve, it is important to provide some additional support. Pour in gravel in the area around the sleeve until you reach the very top of the hole. However, you should still have part of the sleeve sticking out so that you can create the base with the concrete.
Fill the Area Around the Sleeve With Concrete
After completing the last step, mix your concrete according to the manufacturer’s instructions. You should then cover up the hole of the foundation sleeve so that no concrete gets into the sleeve itself.
Carefully pour the mix and use a trowel to smooth the concrete surface. But before you go any further, you should allow it to cure for at least 24 hours before proceeding to the next step. During this period, it’s crucial to keep the area undisturbed to ensure the concrete sets properly.
Start Adding Components to Your Pole
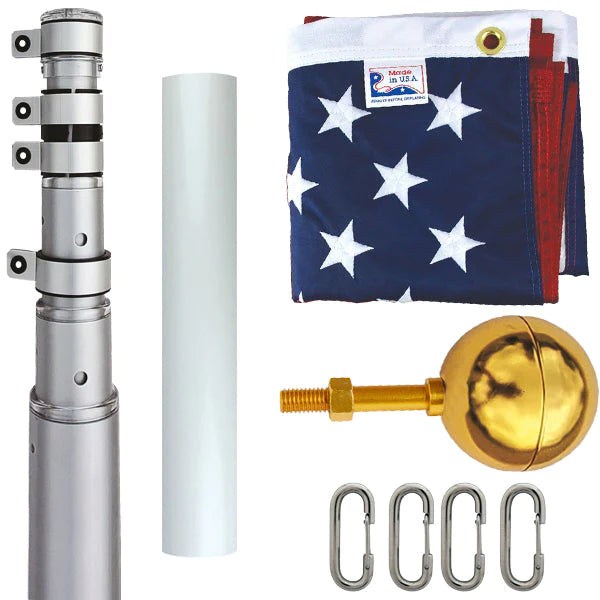
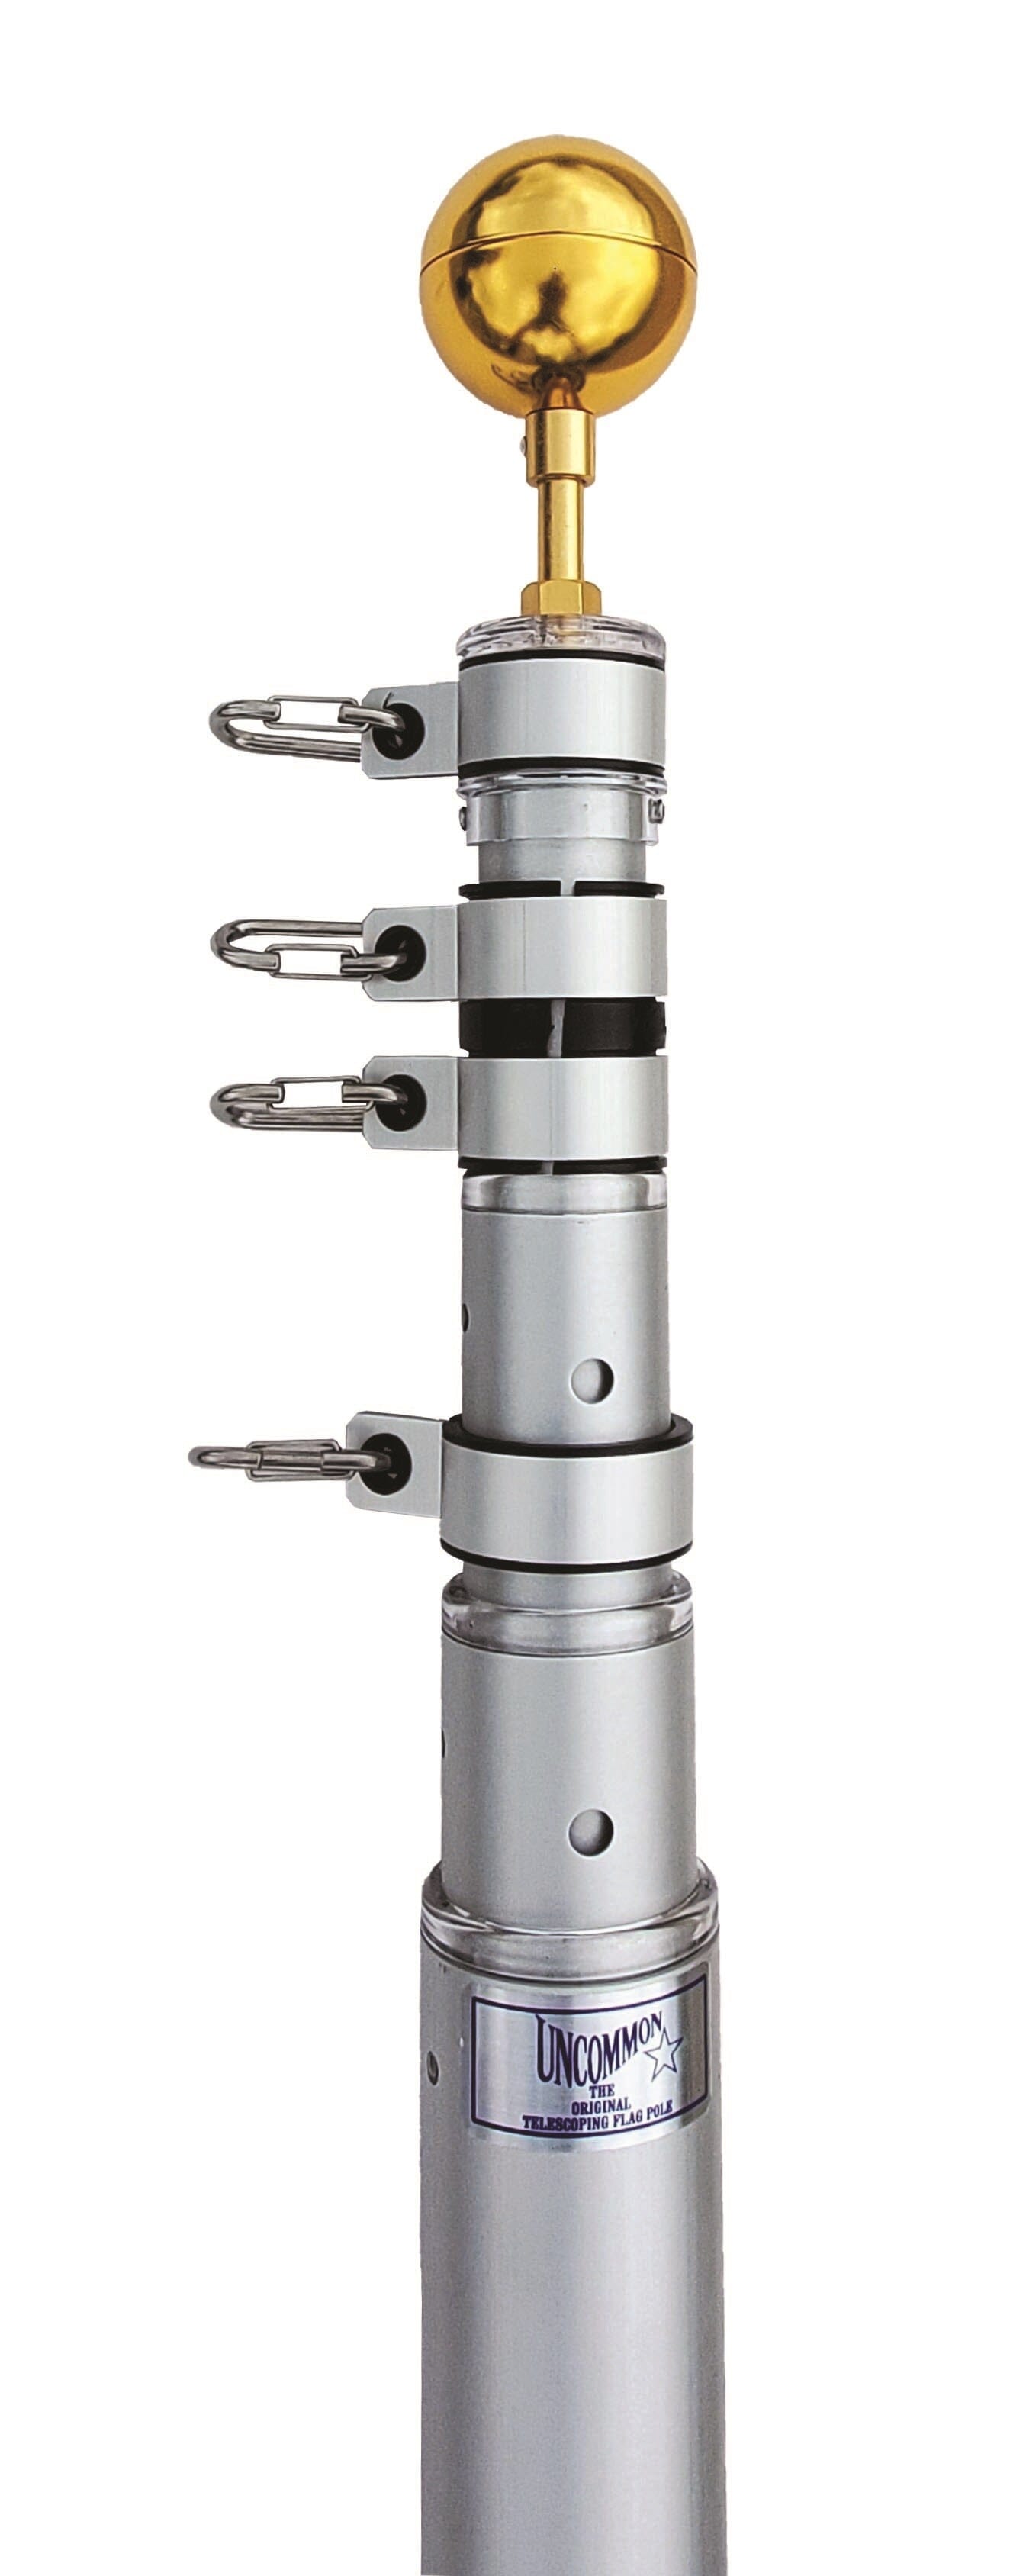
After the concrete has thoroughly set, it’s time to start adding components to your pole. This usually includes the truck with the pulley and halyard. Securely attach each of these components according to the manufacturer’s instructions.
Ensure that you thread the halyard through the truck correctly and that the knots are secure. Once these components are in place, your flagpole will be ready for the flag.
Erect the Pole and Fly Your Flag
With all the components in place, you’re now ready to erect the flagpole. This step will require a little assistance—make sure to have a friend or family member present so that you can avoid any accidents or even unfortunate injuries.
First, carefully lift the pole and guide it into the foundation sleeve. This process should be slow and steady to prevent any damage to the pole or the sleeve. The pole should effortlessly slide into the sleeve.
Once you fully insert it, check to ensure the pole stands upright and firm. If the pole appears to be leaning, make necessary adjustments before proceeding.
Once your flagpole stands tall and firm, it’s time to attach the flag. As you do, make sure it is the correct way up. After it’s secure, use the halyard to slowly raise the flag up the pole.
Watch as your flag flutters and soars high in the sky, signaling a job well done. Don’t forget to periodically check the flagpole to ensure all components are secure and that your pole stands tall and firm.
Adding a one-piece flagpole to your lawn can seem challenging, but with the right tools and by following this step-by-step guidance, it is quite achievable. Liberty Flagpoles offers high-quality, residential one-piece flagpoles that will add curb appeal to your lawn. We make our flagpoles with aluminum and fiberglass so that they will last a long time and keep your flag flying high.


